It's a Rogue World Feat. How To Roll a Joint 12.9.24
In our weekly roundup of things that inspire us we wanted to include some holiday specific items. We lead in with Claire Keegan's incredibly poignant book Small Things Like These set in Ireland during the Christmas Season, we also share: a beloved but unconventional holiday cookie recipe, a quick guide to how to roll a joint, and a sparkler to add interest to your holiday outfits.
The Shadows Beneath an Irish Christmas
I recently read Claire Keegan’s Small Things Like These set in the heart of a small Irish village in the winter of 1985. The protagonist, Bill Furlong, is a coal and timber merchant who’s kind and hardworking, going about his rounds to keep the town warm during the holiday season.
Furlong, the son of an unmarried mother, discovers a young girl locked in a freezing shed at a local convent—a grim nod to Ireland’s dark history with the Magdalene laundries. These institutions, run by Catholic nuns, once imprisoned and abused women and children under the guise of moral correction. The novella beautifully juxtaposes Furlong’s struggle with doing the right thing against a backdrop of a community that chooses to look away. The story is weighty but entirely worth the read.
You can buy the book HERE.

Mark Weinberg for The New York Times. Food Stylist: Yossy Arefi.
A Different Type of Holiday Cookie: Salted Carmel and PB Shortbread
On a lighter note, I’ve discovered a cookie recipe that feels like pure magic: salted caramel and peanut butter shortbread. It’s a perfect blend of sweet, salty, and nutty flavors with a soft, chewy texture. What makes it so unique is the simplicity—crushed hard caramels and smooth peanut butter mixed into a buttery (yes you can use the canna-butter recipe we shared HERE) shortbread dough.
What makes these perfect for guests just popping in: you can prepare the dough ahead of time and bake cookies to order. Imagine that fresh-baked aroma wafting through your kitchen whenever you want! Just scoop the chilled dough onto a baking sheet, put it in the oven, and sprinkle a little flaky salt on top for that extra zing. Honestly, it’s the kind of recipe that turns dessert into the high-light of your day.
Dough
- 1cup/230 grams unsalted butter, at room temperature, plus more for pan
- 1cup/205 grams granulated sugar
- 1teaspoon kosher salt (such as Diamond Crystal)
- 1large egg yolk
- 2½cups/320 grams all-purpose flour (see Tip)
For Finishing
- 1(5½-ounce) bag caramel hard candies
- ¼cup natural creamy peanut butter
- 1tablespoon flaky salt, for finishing
-
Step 1
Heat the oven to 350 degrees. Line a sheet pan with parchment paper. Make the dough: In the bowl of a stand mixer fitted with the paddle attachment, combine the butter, sugar and salt. Beat on low speed until incorporated and smooth, scraping down the sides of the bowl as needed, about 3 minutes. (Do not beat until fluffy, you don’t need to incorporate air into the dough.) Add the yolk and mix until just combined. Turn the mixer off and scrape down the sides of the bowl.
-
Step 2
Add the flour to the bowl all at once and scrape the bottom and sides of the bowl. Turn the mixer speed to low and beat until flour is fully incorporated, scraping the bowl again if needed, about 30 seconds. The dough will be in large crumbles.
-
Step 3
Crush the hard caramels: Place the unwrapped caramels in a freezer bag, wrap it in a kitchen towel, then hit the wrapped bag repeatedly with a rolling pin or the bottom of a wine bottle until the caramels are crushed into smaller pieces. You should end up with about ¾ cup crushed caramels.
-
Step 4
Add the crushed caramels to the dough crumbles and mix, using your fingers to incorporate into the dough. Stir in the peanut butter with a spatula until it’s streaked through the dough but not fully incorporated.
-
Step 5
Use a ½-ounce cookie scoop, an ice cream scoop or a tablespoon measure to portion the dough right onto the prepared baking sheet, spacing at least 1 inch apart. At this point you can refrigerate the scooped dough, well wrapped, for up to 3 days, or chill, then freeze in resealable plastic bags for up to one month. Bake until the cookies are light golden brown at the bottom edges, rotating once halfway through baking, 12 minutes. (If baking from frozen, you may need to add a minute or two to the baking time.) Sprinkle cookies with salt after removing from the oven.
Recipe and photo courtesy of the NY Times.
Roll a Joint With Us
Lots of people are intimidated by joint rolling but honestly it just takes practice. Here we share a few simple steps and pro tips to make rolling your own easy and enjoyable. Taking the time to roll is the thing we love best about our ritual. It's super relaxing when you get the hand of it. Here’s a step-by-step approach:
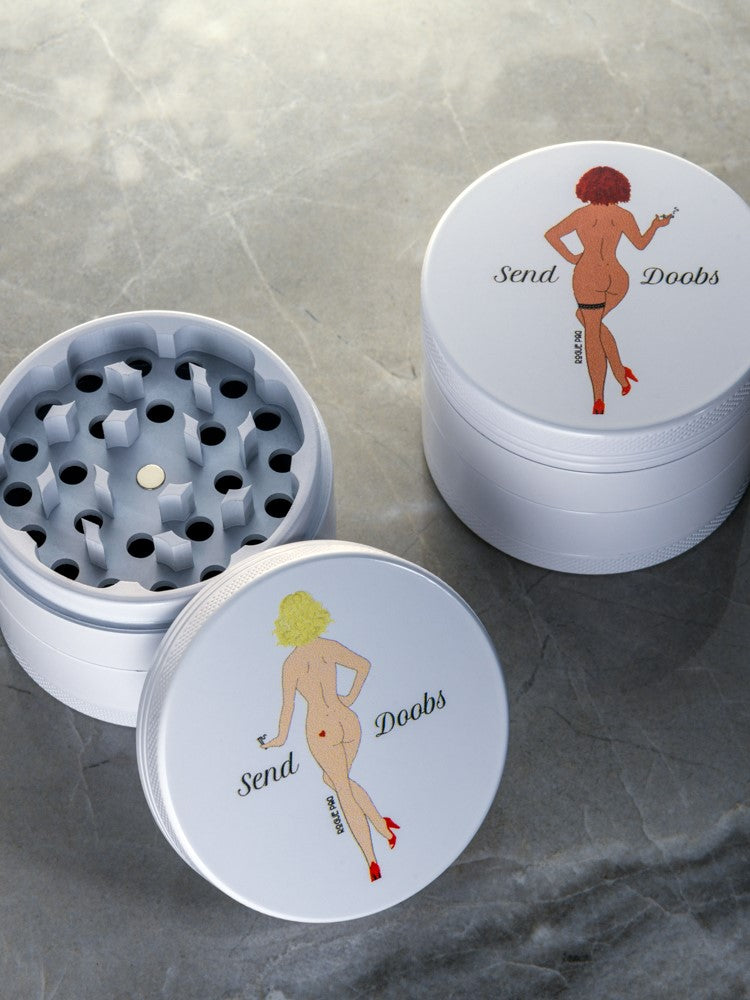
- Grind the beautiful bud: We talked last week about the value of a good grinder and how it ensures an even burn.
- Create or grab a crutch/tip: We favor a glass tip because they are ready-made, reusable, and provide a smooth hit. The tip helps keep the shape sturdy. PRO TIP: pre-wet the adhesive strip on your paper and roll the tip on the glue so when you set it into your paper, it adheres
- Select your rolling paper: We like a king slim sized hemp rolling paper as the larger size makes rolling easier. We also like unbleached so as not to inhale chemicals.
- Roll the joint: This part takes practice, but keep a cone shape in mind, not a cylindrical cigarette shape. Use the glass tip as the stabilizer and work the paper around it. Make sure the tip is very snug in the paper.
- Lick and Stick: Once you achieve a conical shape, lick the adhesive strip and seal her up
- Fill your joint: We like to fill our joint after we achieve our desired shape. The tip holds the joint open so it's easy to fill at this point. Drop the ground cannabis into the cone you've created. PRO TIP: like a burrito, do NOT over-stuff, be very sparing because you will add more as you go along.
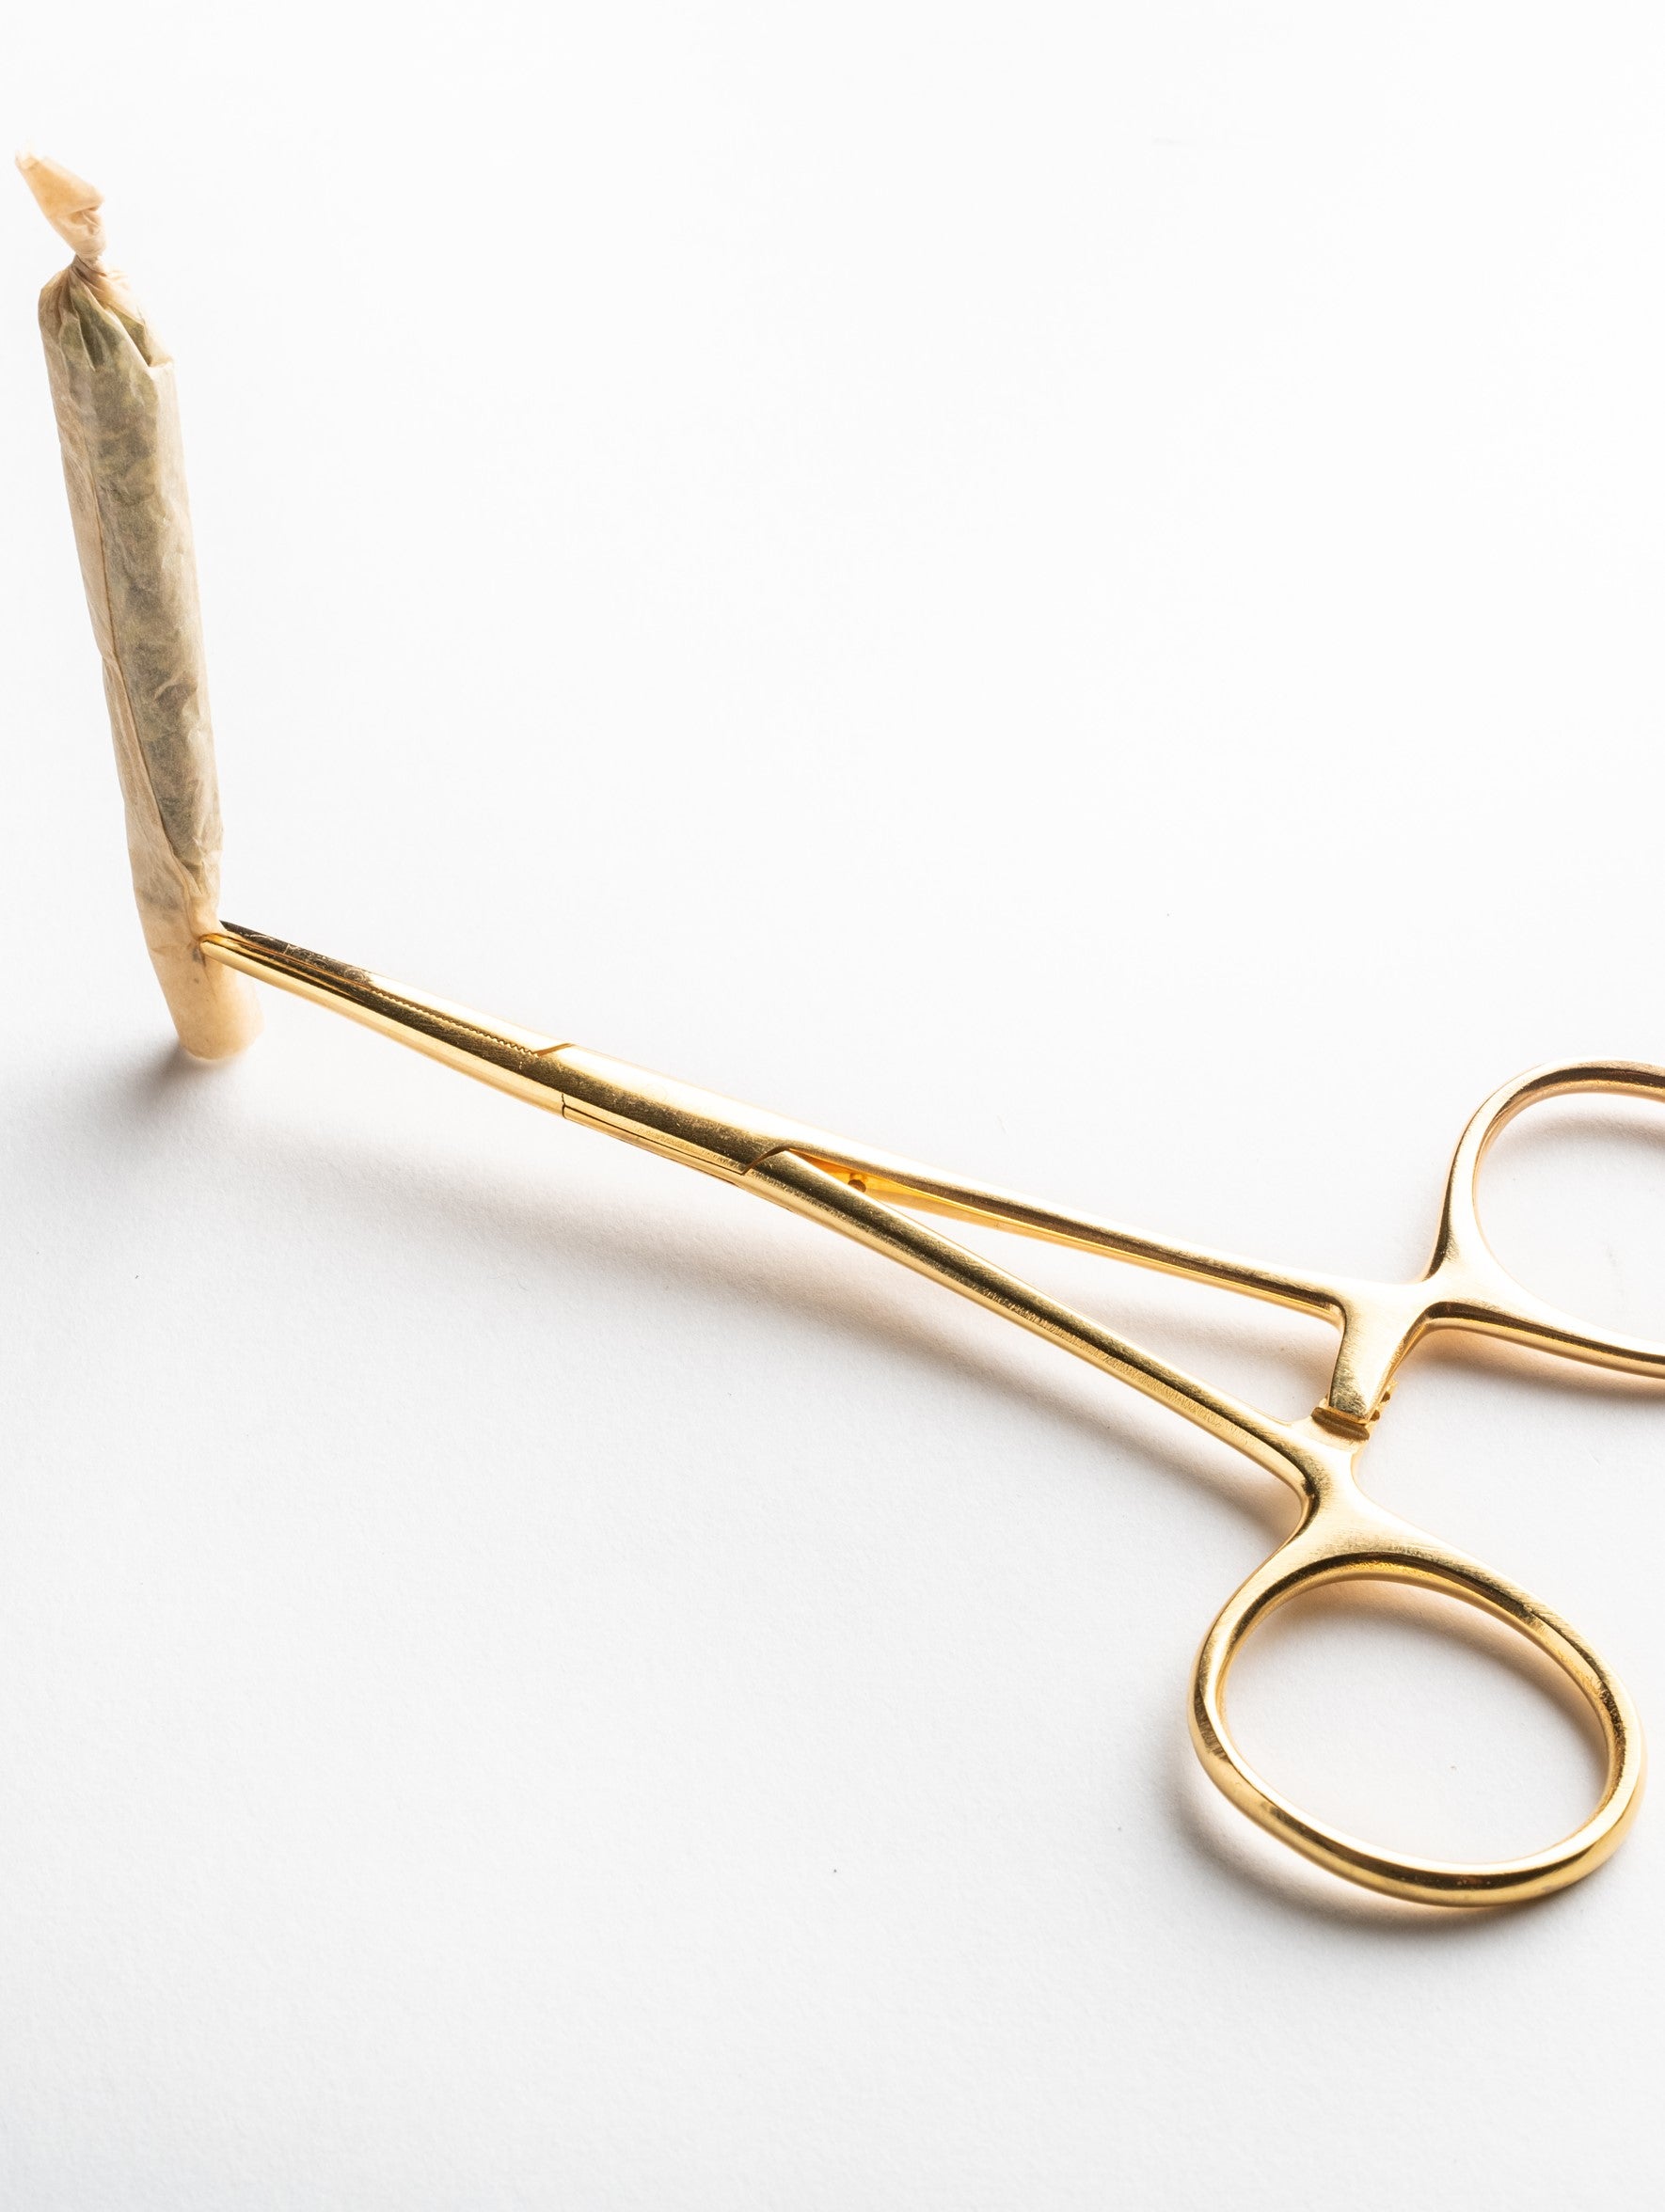
- Use a Packing Tool: Packing tools like our hemostat are great to push down the ground cannabis. You want to pack things fairly tightly so your burn is even and doesn't go out once lit.
- Shake your joint: Twist the top of your joint, grab the twisted tip, and firmly shake it back and forth. This will pack the material further. Twist the top again and shake again. Repeat until things feel firm. You do not want air pockets which will cause your joint to go out.
- Light her up: We like to use a hemp wick to light our joints so as not to inhale any chemicals.
- Enjoy!

Our Current Fashion Obsession: Seasonal Sparklers
We love these sweet crystal bobby pins by Lelet NY. They look adorable in swept up hair or Pro Tip: we fasten larger ones to the fronts of our ballet flats and Mary Janes to give them a little extra sparkle.
Hope you have lots of parties to attend! Until next week. xo


